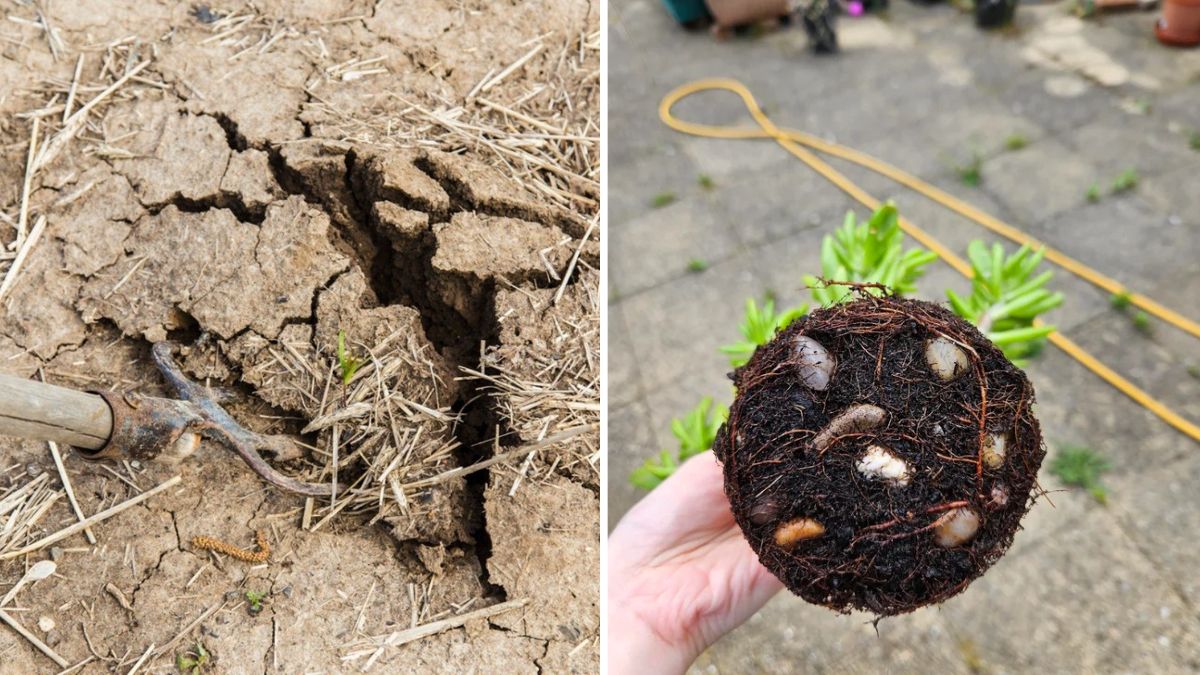
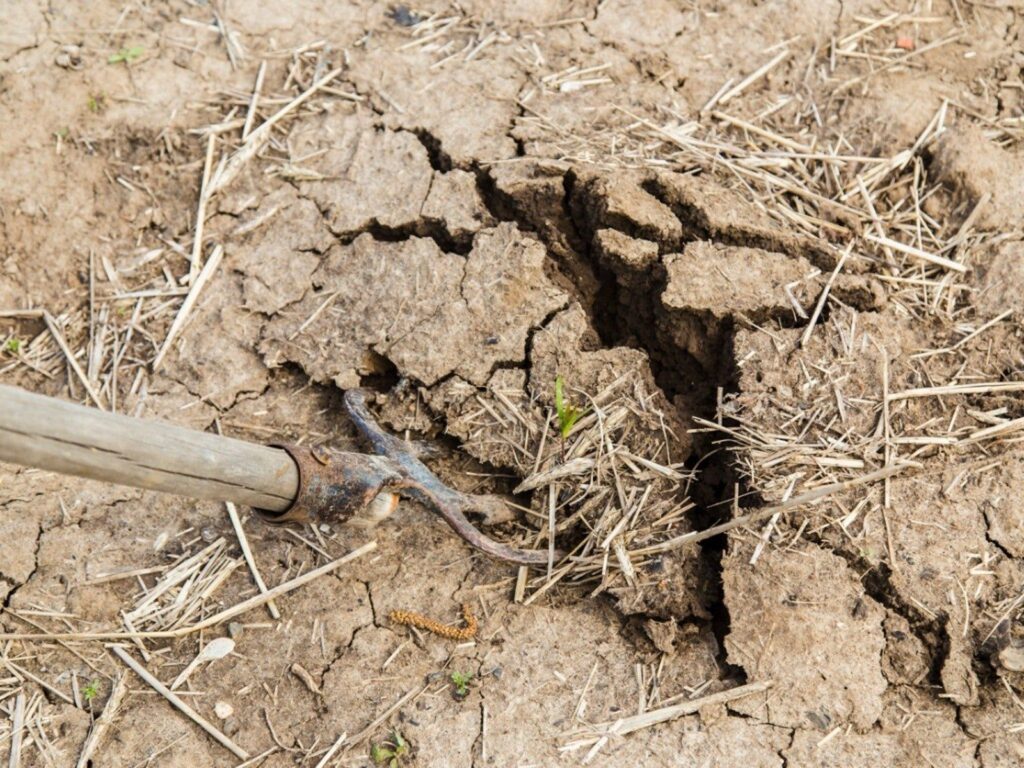
Compacted soil is one of the silent killers in indoor gardening. Even if your plants are getting the right light, water, and nutrients, they may still struggle if their soil is dense and poorly aerated. Compaction restricts root growth, reduces water absorption, and limits oxygen availability — all essential for healthy, thriving plants.
Repotting can fix compacted soil, but it’s not always necessary, and disturbing mature roots can stress or even kill your plant. The good news is that there are effective ways to fix compacted soil without harming roots, keeping your plants healthy and vibrant.
In this article, we’ll explore why soil compaction happens, how to detect it, and practical strategies to restore aeration safely.

🌱 1. Why Compacted Soil Is a Problem
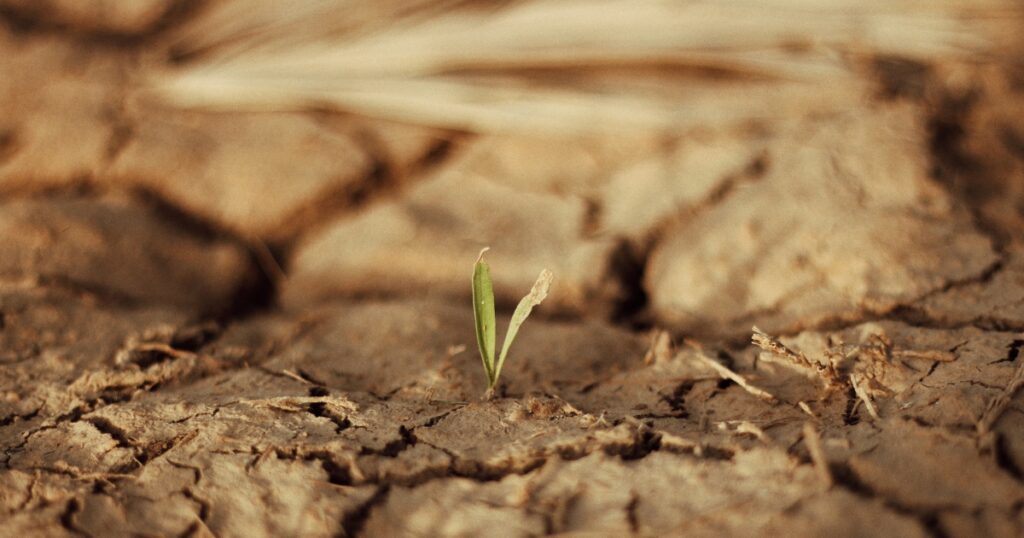
Think of soil like a sponge. When it’s light and airy, water, nutrients, and oxygen move freely through it. Compacted soil, however, is dense and packed tightly, creating problems:
- Poor Water Drainage: Water sits on the surface or pools at the bottom, leading to root rot.
- Limited Oxygen: Roots need oxygen to absorb nutrients; compacted soil suffocates them.
- Stunted Growth: Restricted root space prevents plants from reaching their full potential.
- Increased Pest and Disease Risk: Dense, wet soil is ideal for fungus gnats, mold, and other pathogens.
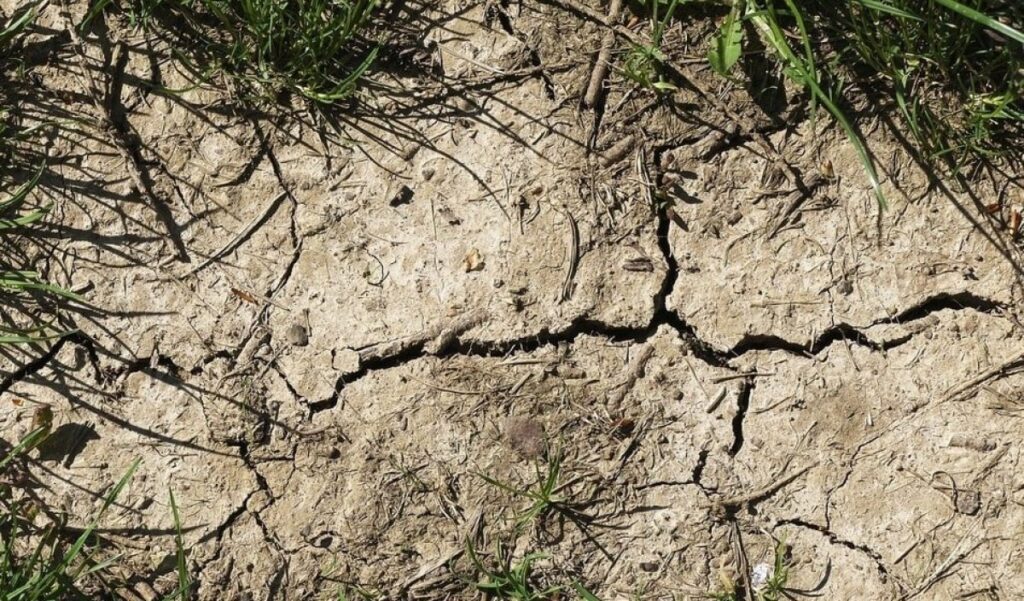
Symptoms of compacted soil include:
- Water pooling on top or running straight through without soaking in
- Yellowing leaves, slow growth, or leaf drop
- Hard, crusty soil surface
- Roots circling the pot instead of spreading naturally
🌿 2. How to Detect Compacted Soil
Before attempting to fix compacted soil, it’s essential to confirm the problem:

🌱 Finger Test
- Insert your finger 1–2 inches into the soil.
- If it feels extremely dense, hard, or resistant, the soil is compacted.
🌱 Water Test
- Pour water on the soil surface.
- If it pools, runs off, or doesn’t penetrate, compaction is likely.
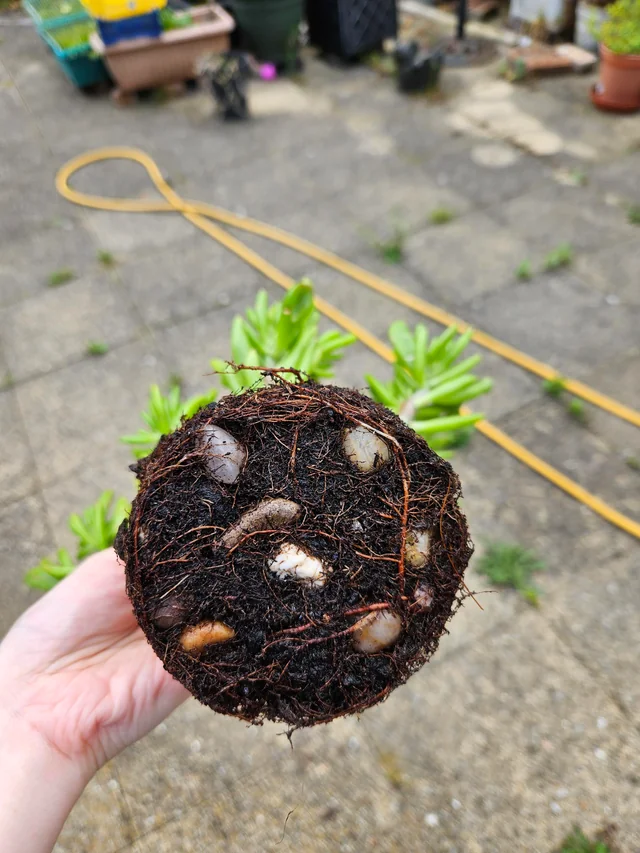
🌱 Root Observation
- Gently remove the top layer of soil to inspect roots.
- Roots may be circling or unable to penetrate the soil effectively.
💧 3. Tools You’ll Need
Fixing compacted soil requires simple tools that allow you to loosen the soil carefully without harming roots:
- Chopsticks or wooden skewers
- Bamboo dowels
- Small hand forks or soil picks
- Watering can or spray bottle for rehydration
- Optional: coarse perlite, pumice, or sand to improve aeration
🌿 4. Step-by-Step Guide to Loosening Soil
Step 1: Water Lightly
- Lightly moisten the soil to make it more pliable.
- Avoid soaking; overly wet soil can damage roots when disturbed.
Step 2: Poke the Soil
- Insert a chopstick or skewer vertically into the soil about 1–2 inches apart.
- Wiggle slightly to create air channels without digging into roots.
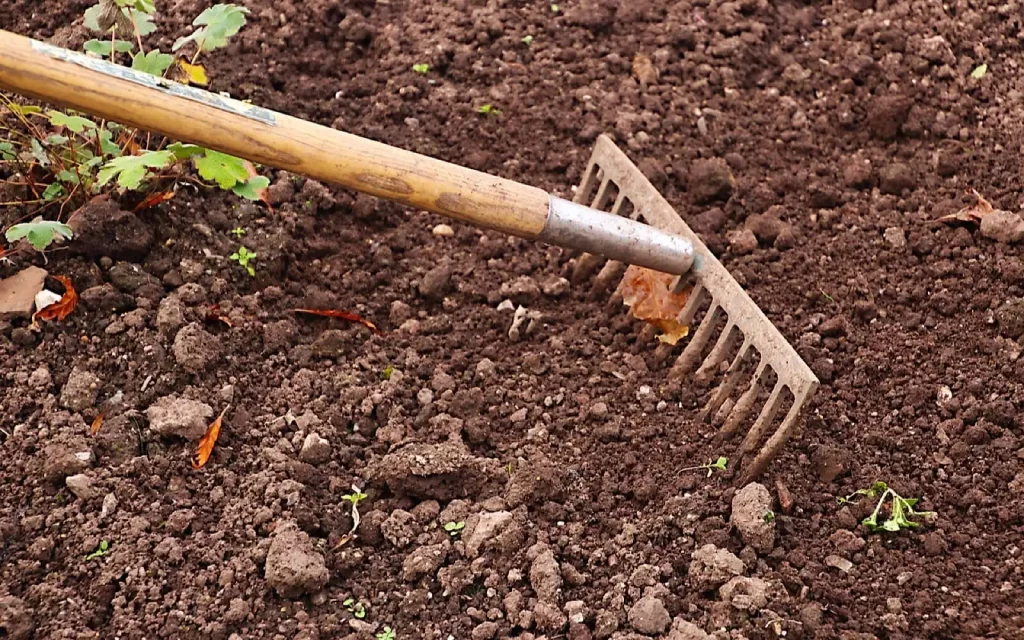
Step 3: Fluff the Top Layer
- Use a small hand fork or your fingers to gently loosen the top 1–2 inches.
- Focus on breaking surface compaction without digging too deep.
Step 4: Mix in Aeration Additives (Optional)
- Sprinkle a thin layer of perlite, pumice, or coarse sand on top and gently mix in.
- This improves drainage and airflow over time.
Step 5: Water Thoroughly
- After aeration, water lightly to help the soil settle naturally.
- Avoid overwatering; the goal is moist, aerated soil, not soggy soil.
🌾 5. Techniques for Specific Plant Types
Different plants benefit from tailored soil-fixing techniques:
🌿 Succulents and Cacti
- Avoid deep poking, as roots are shallow.
- Use coarse sand or pumice to improve drainage.
- Let soil dry completely before the next watering.
🌿 Tropical Foliage Plants (Monstera, Pothos, Philodendron)
- Loosen top 2–3 inches gently with a chopstick.
- Add perlite or orchid bark for long-term aeration.
- Keep soil evenly moist but not waterlogged.
🌿 Ferns and Calatheas
- Topsoil can be very compacted due to high organic content.
- Fluff soil and mix in perlite or vermiculite to maintain moisture while improving airflow.
🌿 6. Preventing Soil Compaction in the Future
Once your soil is aerated, it’s important to prevent compaction from returning:

🌱 1. Choose the Right Potting Mix
- Use a light, well-draining mix suited to your plant type.
- Tropical plants: peat moss + perlite + compost
- Succulents/cacti: sandy, gritty mix with perlite or pumice
🌱 2. Avoid Overwatering
- Excessive watering causes soil to settle and compact over time.
- Always check soil moisture before watering.
🌱 3. Repot Periodically
- Repot every 12–18 months to refresh nutrients and maintain structure.
- Even gentle aeration benefits from occasional full repotting.
🌱 4. Top-Dress Soil
- Add fresh compost, bark chips, or perlite to the top of your soil regularly.
- Prevents crusting and maintains aeration.
🌾 7. Alternative Methods to Improve Compacted Soil
Besides manual aeration, you can use alternative methods:
🌿 Bottom Watering
- Place your pot in a shallow tray of water and let soil absorb moisture from below.
- Encourages deeper root growth and reduces surface compaction.
🌿 Self-Watering Pots
- Keeps soil consistently moist but not soggy.
- Reduces repeated compaction from frequent top watering.
🌿 Periodic Soil Loosening
- Gently poke or stir the top layer every 4–6 weeks to maintain airflow.
🌱 8. Common Mistakes to Avoid
🚫 Poking Too Aggressively
- Deep, rough digging can damage roots.
- Solution: Focus on small, vertical holes and gentle fluffing.
🚫 Ignoring Moisture Levels
- Working in dry soil can break roots; working in soggy soil can cause root damage.
- Solution: Lightly moisten soil first.
🚫 Neglecting Soil Additives
- Compact soil without amendments may revert quickly.
- Solution: Mix in perlite, pumice, sand, or bark for lasting improvement.
🌿 9. Signs That Soil Has Been Successfully Aerated
After aeration, look for these positive signs:
- Water penetrates evenly without pooling
- Soil feels springy and slightly loose
- Plant leaves perk up and look healthier
- Roots begin to spread naturally if observed gently
With consistent care, your plants will thrive in healthier, well-aerated soil.

🌸 10. Final Thoughts
Compacted soil doesn’t have to be a death sentence for your indoor plants. With careful aeration, proper soil amendments, and mindful watering, you can restore soil health without stressing roots.
By following these techniques, your indoor garden will enjoy:
- Strong, healthy roots
- Improved nutrient and water absorption
- Reduced risk of disease and pests
- Thriving, lush foliage
Healthy soil is the foundation of vibrant plants. Take the time to loosen, fluff, and maintain it — your plants will reward you with resilience and growth. 🌿💧

Leave a Reply